
Post Menu and Details.
- Before You Start: System Requirements
- How to Download and Install BlueStacks on PC
- Installing BlueStacks on Windows 10
- How to Install BlueStacks on Mac
- BlueStacks Features
- Tips to Improve BlueStacks Performance
- Warnings
- Troubleshooting Common BlueStacks Issues
- BlueStacks vs Other Android Emulators
- My Recommendation
- Frequently Asked Questions
Words: 1283
Reading time: ~5 minutes
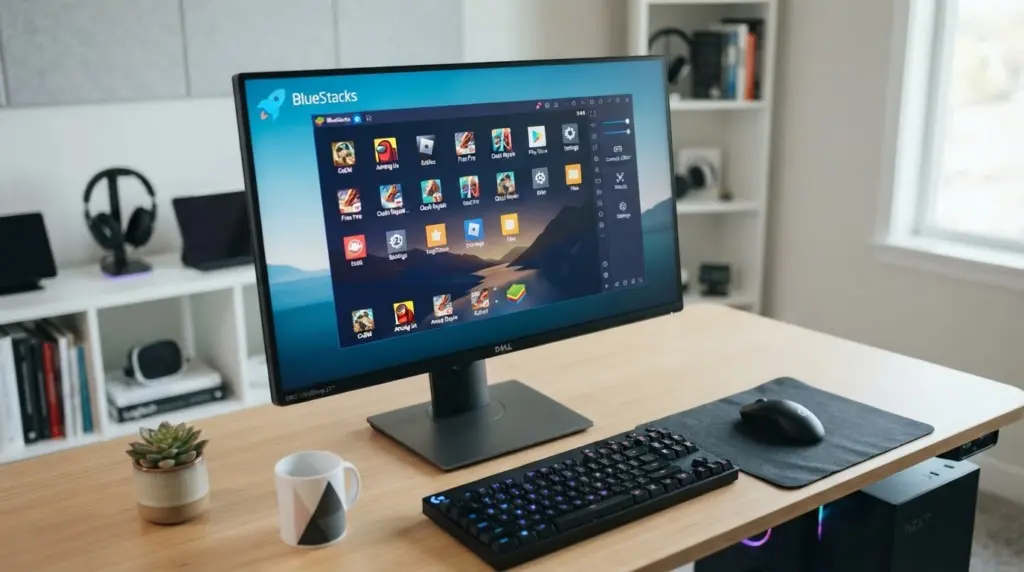
Updated July 2026. BlueStacks is the most popular Android emulator for PC. It allows you to run Android apps and games on your Windows or Mac computer. The download and installation process is straightforward. I’ve used BlueStacks on several different computers, and it works well for most Android apps and games. Below I’ll walk through downloading and installing BlueStacks on PC, Windows 10 specifically, and Mac, plus the system requirements, common issues, and how it compares to other emulators.
Before You Start: System Requirements
Check your computer against these requirements before downloading. The minimums are modest, and most computers built in the last several years will meet them.
| Requirement | Minimum | Recommended |
|---|---|---|
| RAM | 4 GB | 8 GB |
| Disk space | 5 GB free (more needed for downloaded apps/games) | SSD storage |
| Processor | Supports virtualization (Intel VT-x or AMD-V, enabled in BIOS) | Multi-core, virtualization enabled |
| Graphics | OpenGL 2.0 | Dedicated graphics card, DirectX 11 |
| Operating system | Windows 7, 8, 10, or 11; macOS 10.12+ | Latest Windows 11 or macOS build |
| Screen resolution | 1024 x 768 | 1080p, 1440p, or 4K |
| Internet connection | Required for download and Google Play Store | Broadband, for faster large app/game downloads |
How to Download and Install BlueStacks on PC
- Go to the official BlueStacks website at bluestacks.com.
- Click the Download button. The file is about 600 MB, so the download may take a few minutes depending on your internet speed.
- Once the download finishes, open the installer file.
- Follow the on-screen installation instructions. The install takes roughly 5 to 10 minutes.
- When installation finishes, BlueStacks launches automatically.
- Sign in with your Google account to access the Google Play Store.
- Once signed in, download and install Android apps and games from the Google Play Store.
Installing BlueStacks on Windows 10
The Windows 10 install uses the same installer as the general PC steps above, with a couple of Windows 10-specific settings worth knowing:
- Download the BlueStacks installer from the official website.
- Run the installer as administrator.
- Choose your installation location and other settings when prompted; the installer also installs the drivers BlueStacks needs to run properly.
- Once installation completes, BlueStacks launches.
- Sign in with your Google account to reach the Google Play Store and start downloading apps.
- If your computer has a dedicated graphics card, enable hardware acceleration in the settings for better performance.
BlueStacks on Windows 10 supports all Android apps and games, and performance is good on most computers.
How to Install BlueStacks on Mac
- Go to the official BlueStacks website and download the Mac version.
- Open the downloaded DMG file and drag the BlueStacks icon to the Applications folder.
- Open BlueStacks from the Applications folder.
- The first time you open it, macOS may block it. Go to System Preferences, then Security & Privacy, and click Open Anyway.
- BlueStacks launches and guides you through setup.
- Sign in with your Google account to access the Google Play Store.
BlueStacks on Mac requires macOS 10.12 or later. Performance is similar to the Windows version, and it supports the same features on Mac, including multi-instance, key mapping, and screen recording. Both Intel and Apple Silicon Macs are supported.
BlueStacks Features
BlueStacks packs in more features than most people ever use. The ones worth knowing:
- Multi-instance: run multiple Android apps, or multiple game accounts, at the same time.
- Key mapping: assign keyboard and mouse controls to touchscreen controls, useful for games built for touch.
- Eco mode: reduces CPU and RAM usage when BlueStacks runs in the background.
- Screen recording: record gameplay or app usage for tutorials or sharing.
- Real-time translation: translate in-app text on the fly, handy for games in another language.
- Pre-configured game controls: ready-made control schemes for popular games.
For gaming specifically, BlueStacks adds a few more: high frame rate support up to 240 fps on capable computers, gamepad support, graphics upscaling for sharper visuals on large screens, and script recording to automate repetitive in-game actions.
Tips to Improve BlueStacks Performance
- Enable virtualization in your computer’s BIOS settings.
- Allocate more RAM to BlueStacks in the settings (default is 2 GB; bump it to 4 GB or more if you have the headroom).
- Allocate more CPU cores (default is 2 cores; increase to 4 or more if available).
- Enable hardware acceleration to use your graphics card.
- Switch on performance mode, which prioritizes speed over battery life.
- Close other applications while running BlueStacks to free up system resources.
- Keep BlueStacks updated. Updates often include performance fixes.
- Install BlueStacks on a solid-state drive if you have one; it improves app loading times.
Warnings
- Only download BlueStacks from the official bluestacks.com website. Third-party download sites are a common malware vector for emulators.
- If your antivirus flags the installer, that’s a known false-positive pattern with virtualization software, and disabling antivirus temporarily during install is a common workaround, but only do this with software from the official source.
Troubleshooting Common BlueStacks Issues
BlueStacks won’t install
- Confirm your computer meets the system requirements above.
- Enable virtualization in your BIOS settings.
- Run the installer as administrator.
- Temporarily disable antivirus software during installation.
BlueStacks won’t launch after installing
- Restart your computer.
- If it still won’t open, reinstall BlueStacks.
BlueStacks is running slowly
- Allocate more RAM and CPU cores in the settings.
- Enable hardware acceleration.
- Close other applications while BlueStacks is running.
Apps won’t install from the Google Play Store
- Make sure you’re signed in with your Google account.
- Check your internet connection.
- Clear the Google Play Store cache in the BlueStacks settings.
Games aren’t running smoothly
- Lower the in-game graphics settings.
- Enable performance mode in BlueStacks.
- Update your graphics card drivers.
BlueStacks keeps crashing
- Reinstall BlueStacks.
- Update your operating system and graphics drivers.
- If the problem persists, contact BlueStacks support directly.
BlueStacks vs Other Android Emulators
BlueStacks isn’t the only Android emulator for PC, but it’s the one with the largest user base and the most frequent updates. Here’s how it stacks up against the alternatives:
| Emulator | Best for | Notes |
|---|---|---|
| BlueStacks | Widest app/game compatibility | Most frequently updated, largest user base, multi-instance support |
| Nox Player | Users who want similar features free | Comparable feature set to BlueStacks, updated less often |
| MEmu Play | Lower-end computers | Lightweight, good performance on modest hardware, supports multi-instance |
| LDPlayer | Gaming on lower-end computers | Newer emulator, optimized for popular games, supports multi-instance |
| Android Studio emulator | Free/open-source option | Built-in with Android Studio, fewer gaming-focused extras |
My Recommendation
Based on my experience with Android emulators, BlueStacks is the best choice for most users. It offers the most features, the best compatibility with apps and games, and the most frequent updates. The installation process is straightforward, and the system requirements are relatively modest. The free version is sufficient for most people; the premium version only matters if you want ads removed and a few extra features. If you’re on a lower-end computer, MEmu Play or LDPlayer are worth considering instead, since they run lighter.
Frequently Asked Questions
Is BlueStacks free?
Yes, BlueStacks is free to download and use. There is a premium version called BlueStacks Premium that removes ads and adds extra features, but the free version is enough for most users.
Is BlueStacks safe?
Yes, BlueStacks is safe to download and use. It’s a legitimate Android emulator from a reputable company. Download it only from the official website to avoid malware.
Can I run BlueStacks on a Mac?
Yes, BlueStacks is available for Mac. The download and installation process is similar to the Windows version, and it requires macOS 10.12 or later.
Does BlueStacks work on Windows 11?
Yes, BlueStacks works on Windows 11. The installation process is the same as on Windows 10, and BlueStacks has been optimized to work well on it.
What are the minimum system requirements for BlueStacks?
At minimum, you need 4 GB of RAM, 5 GB of free disk space, and a processor that supports virtualization. See the requirements table above for recommended specs.
Written by Chris Jenny, technology writer and software specialist. Updated July 2026.
Thank you for reading!