
Post Menu and Details.
- How to use a GIF?
- How to make a GIF?
- Turning photos to GIF using Photoshop
- Making GIF from YouTube video
- Making GIFs using Android
- Making GIFs using GIMP
- Make a gif on the iPhone.
- Tools to make the GIFs
- How to Make a GIF? - Step-by-Step Guide {100% Working} FAQs
Words: 1692
Reading time: ~7 minutes
GIFs are trending. Still, looking for how to make a GIF? Here’s the perfect step-by-step guide about how to do it. GIFs are the simple and trending animations in the present era. Do you know more than 300 million people are using GIFs to express their ideas and feelings actively? The popularity and demand for GIFs are sky-rocketing day-by-day.
Want to know how to make a GIF for your social media accounts?
Well. It’s pretty simple and easy. You can make GIFs either by using Photoshop, YouTube, or using any other recorded videos. Usually, GIF acts as a bridge between an image and a video.
Want to know more about the GIFS and how to make them? If yes, you are in the right place to know everything about it? So, without any further delay, go ahead and dive deeper into the article right now.
How to use a GIF?

Have you ever used emojis?
If yes, then GIF is also quite similar to emoji. The only difference between the two is GIF is an animated picture while emoji is a normal one without any animation.
Moreover, many websites provide free GIFs for you, such as GIPHY, Gyfcat, etc. Do you know even your GBoard has an inbuilt GIF function?
Many social media platforms also have an inbuilt GIF function. All you need to do is go to the search bar of GIF and find the right one. Or, if you want to use the GIF from the GIPHY or Gyfcat, then you should copy the link and use the link wherever you want.
Most of the time, GIFs work automatically on several websites and platforms. So, in this way, you can use the GIFs. However, if you want to make your GIF, then you must work a few minutes to create it.
Want to know?
How to make a GIF?
You can make your GIF using Photoshop, recorded video, or any other videos and images. Creating GIFs is pretty simple and requires a few minutes to complete. The only part you should work hard on is to collect good images.
So here is the detailed information about how to make a GIF using Photoshop, Android, and a video. Are you ready? Shall I explain?
Turning photos to GIF using Photoshop
To create a GIF in Photoshop, all you need to have is a photoshop account, and a few images to make a GIF.
- Sign in to your Photoshop account.
- Then, go to “files” and tap on the “Stack” option.
- And then, load files into the stack.
- After that, choose your images, and each of your pictures will be in only a single frame.
- Now, you should create a timeline and arrange your pics.
- For this, you should go to the option “Window” that is at the top of the screen. And then, scroll down to see the “Timeline” option.
- After you are done with this, you see an option of “Create Video Timeline” under the image. But change it to “Create Frame Animation.”
- Above the “Create Frame Animation,” you can see the horizontal lines menu. Click on it. And choose the option “Make Frames From Layers.”
- That’s it. Now you can see an organized way to make a GIF.
- Now save your GIF for the web. For this, go to “File” and click on the “Export.”
- Next, choose the option “Save for the web(legacy).”
That’s it. You are done with your GIF. And now, see your GIF by clicking the preview button at the bottom of your screen.
Moreover, you can also change color, size, and other features on photoshop. Photoshop has many features in it. So, you can edit the GIF however you desire for.
Making GIF from YouTube video
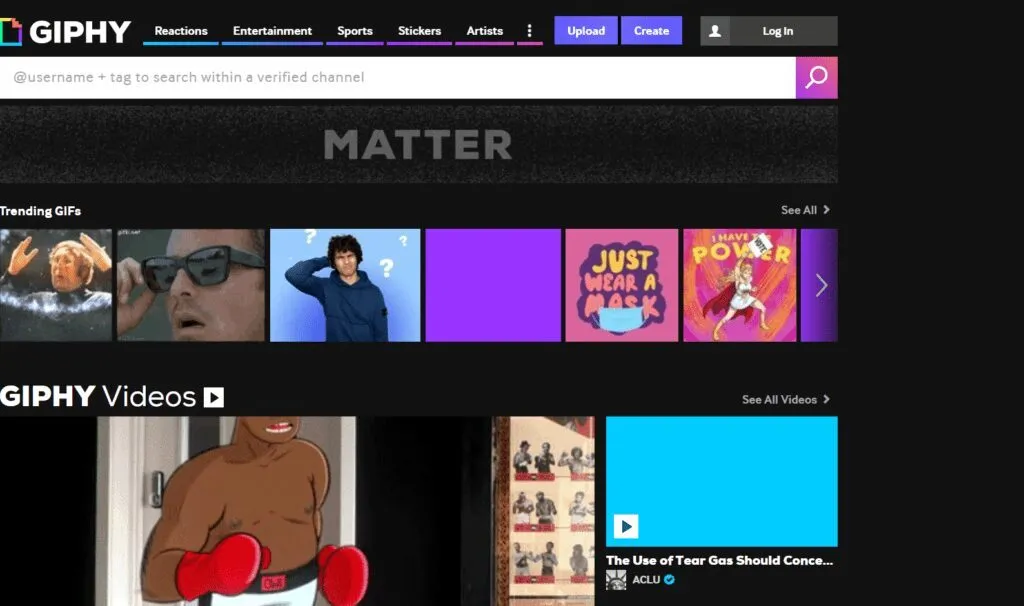
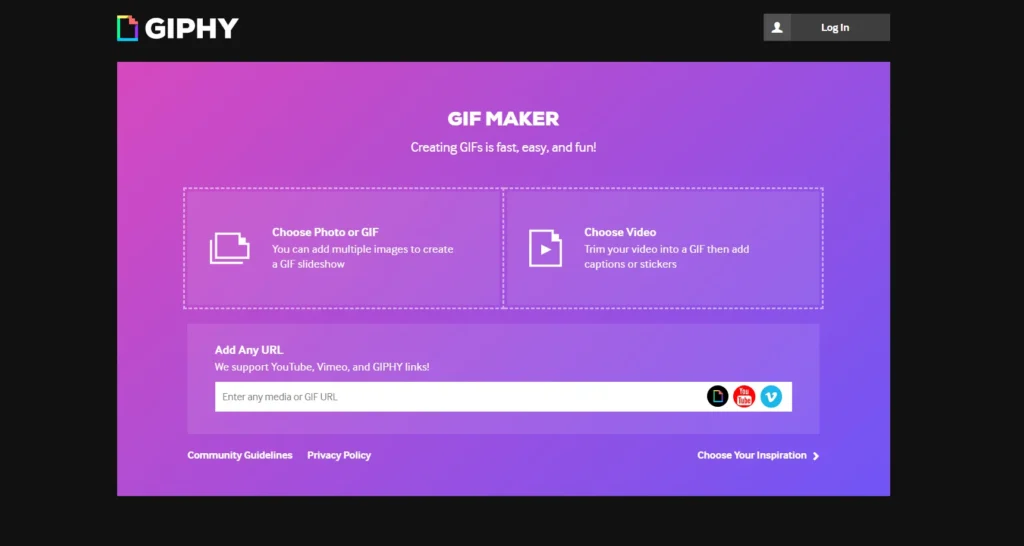
To make a GIF from a YouTube video, you need to use the GIPHY website.
- Open the GIPHY website and tap on create GIF on the homepage of the website.
- Find your favorite video on YouTube and copy the web address of it.
- And then, paste it on the website GIPHY and choose the duration of the video that you would like to create a GIF. Adjust the starting time and duration of the video.
That’s it. You have made a perfect GIF. Now, you can even add additional steps like decorating your GIF and adding hashtags to it.
And finally, upload your GIF on GIPHY.com. To use this GIF on your social media, you should copy the link and paste it wherever you want. This is all about making GIFs using YouTube.
Do you want to know how to make a GIF on Android?
Making GIFs using Android
Making GIFs on Android is even easier than using any other device. All you need to have is an app called GIPHY Cam to make GIFs.
Have you ever used Snapchat? Yup. Then, it’s easier for you to use even a GIPHY Cam. But how can you handle GIPHY Cam if you didn’t use Snapchat at least one time?
Don’t worry. GIPHY Cam is pretty more comfortable to use and handle. Wanna know more?
- Download and Install GIPHY Cam on your Android.
- Open and sign in to the app. Then, choose any image from your photo gallery.
- After that, you find a few filters at the bottom of your pic.
- Please choose any of the filters and add stickers to them.
That’s it. You are done with it, even on your mobile. Now, save it and share it on your various social media platforms.
Making GIFs using GIMP
To make a gif in GIMP, you need to open GIMP and follow these steps:
- Select File Menu > Open as Layers > Select all pictures you want to be in the GIF > Open
- In the layers tab order, your pictures > The GIF sequence will begin with your bottom layer and run through every layer bottom to top. (I’ve only used two layers, but you can use more)
- Select Filters from main menu > Animation > Click Optimize for GIF
- To see GIF > Filter > Animation > Playback. Press the ▶ button to begin GIF.
- To save GIF > Select File > click Export as
- Name your GIF, and select folder > Select File Type > Click GIF Picture.
- Select’ As Animation’> Select’Loop Forever’ To alter speed between each picture, alter the delay
- Click Export
Make a gif on the iPhone.
Firstly, it should be noticed that turning a Live Photo into a GIF via the Photos app won’t produce a real GIF — it’ll just create another Live Photo that looks like a GIF when performed an iPhone or even iPad.
That implies that in case you export this Live Photo into a non-Apple device, it won’t move. You’ll need to use GIPHY to create an actual GIF.
- Open the “Photos” application on your iPhone device.
- Click on the Live Photo from which you need to make a GIF.
- Tap and hold the bottom of the picture.
- Slide up your finger to deliver up the shifting image menu (Live, Loop, Bounce, Long Exposure).
- Tap on “Loop” to flip the image to a GIF. Just one notice – rather than repeat GIF immediately when GIF finishes, the picture will fade out, just like this:

You may alternatively tap on “Bounce” so the frames of this image will proceed and in reverse rather than starting back at the start of the image collection.
Tools to make the GIFs
There are several tools to make GFs online. But you should choose the right one to make great GIFs. So, here are a few tools and websites with exotic features to create your GIFs.
Do you want to know?
Gifs.com
Want to make a GIF in a few minutes using YouTube videos or Instagram videos? Then, this website works well. Moreover, the additional features and editing options are amazing to create high-quality GIFs.
All you need to do is copy and paste the web address. That’s it. Start creating your GIFs.
Giphy GIF Maker
That is another GIF creator site. It’s one of the biggest GIFs maker websites on the internet with several thousands of free GIF collections. Even you can use their free GIF on your social media platforms.
That is also quite simple to use. All you need to do is copy and paste the GIF link. And you are sharing the GIF with the world.
GIPHY’s GIF Editor
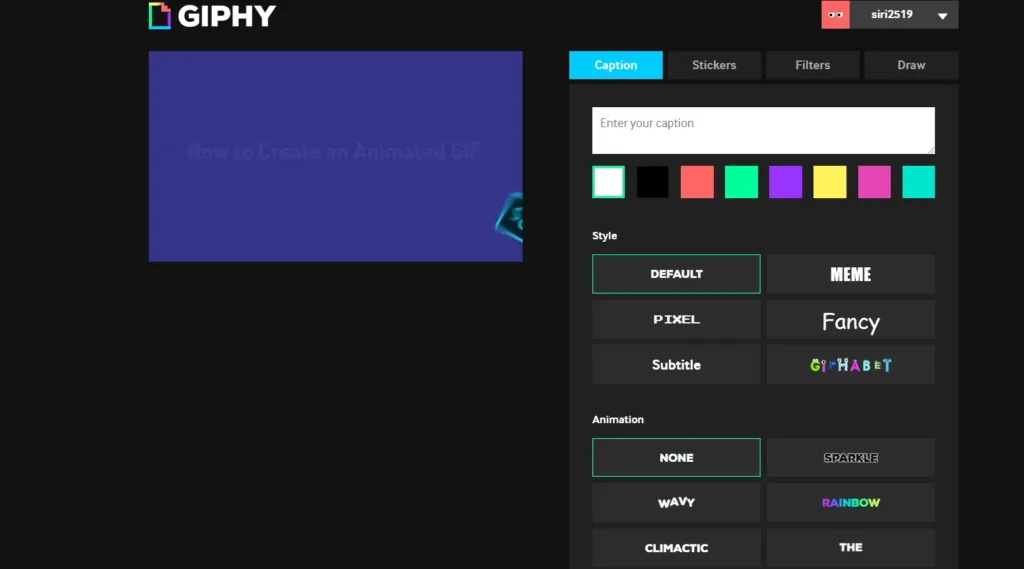
That is a perfect tool to edit your GIFs and to make it more lively. It’s also the most used tool because of its great editing features such as filters, stickers, etc. The best part of it is it’s free to use.
How to edit?
It’s a cakewalk process. All you need to do is copy and paste your GIF URL and start editing based on your preferences.
Cloud App
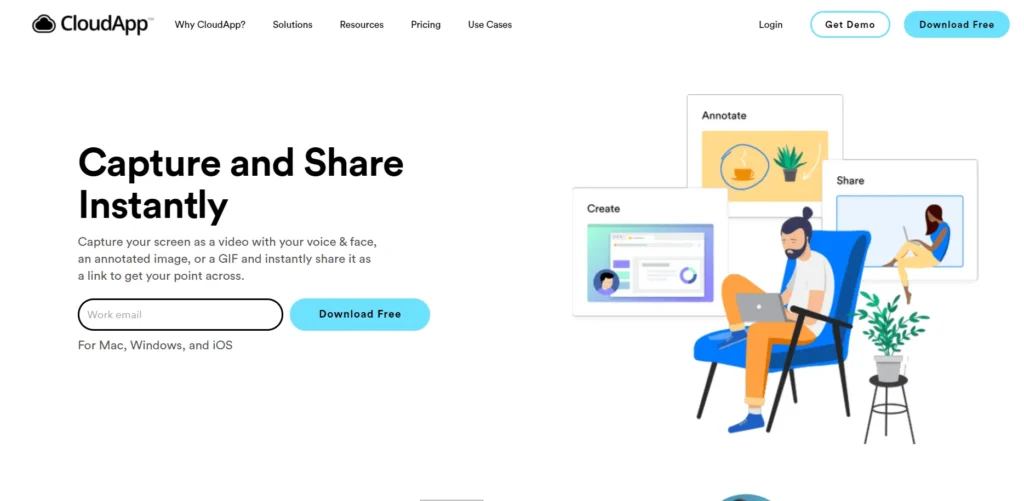
This app is best if you want to use your computer or laptop screen as your GIF. These GIFs best suits for how-to tutorials.
This app helps you to record your screen, animate it, and many other editing options with advanced features. Also, it’s a user-friendly app. You can easily use it.
But to get complete control over editing, call-to-action, customized options, and other advanced features, you should buy a few subscriptions. However, there is also a free plan to create GIFs, capture videos, and screenshots.
These are the few tools to make GIFs. And use it on various platforms. However, if you don’t have enough time to make GIFs, then you can use a few websites to use free GIFs.
Few websites like GIPHY, Gyfcam, Buffer Mood Board, Tumblr, Imgur, etc. give you free GIFs that are pre-made on their websites.
You can use them by copying the link and pasting it on the sites wherever you want to share.
So, without any further delay, start creating your GIFs and share them. However, you do not need to have any prior experience to use any software to make GIFs. Just start and make your free GIFs.
What do you say?
How to make a GIF video:
How to Make a GIF? – Step-by-Step Guide {100% Working} FAQs
Is Giphy free?
Yes, it is. You can use it for free.
How do you fix a GIF on iPhone
You can try to update your IOS, re-add #images, free up memory space, turn on the #images Function., etc.
Where can i get gifs for free?
On the internet you may find more websites for it:
Giphy.com
Pixabay.com
StockSnap.io, etc
Thank you for reading!